
Happy Friday! I thought it would be fun to talk you through how we’re tackling the project house and show you some of the progress we’ve made. I’m so proud of what we’ve done and our vision for the place: it has already been a lot of work but it is so worth it!
The story so far
As a bit of background if you haven’t read the full story, we put an offer in on this place after seeing it once, for about 20 minutes…and then we didn’t see it again until the settlement had happened and it was ours. 🙈 Look, I don’t recommend this as a way of life for most people, but it is how we do life (at least the habitat part of life) it seems – if you remember, we did the same thing with our country place. When we first saw the new house I formed the opinion that while there were some small things we’d want to tweak, it was totally liveable and we could/would take our time about it. And that’s somewhat true! It’s definitely totally liveable, and we can take our time…we just don’t really want to. It’s absolutely easier tackling things right now, while we’re still finding our way around the place and learning how we live in this space, than after six or twelve months, when we’d be more dramatically disrupting our lives. That said, we’re not making any major decisions that can’t be easily undone, and most of the work can be done by us. It’d be a different calculus if that were the case!
What we’re planning
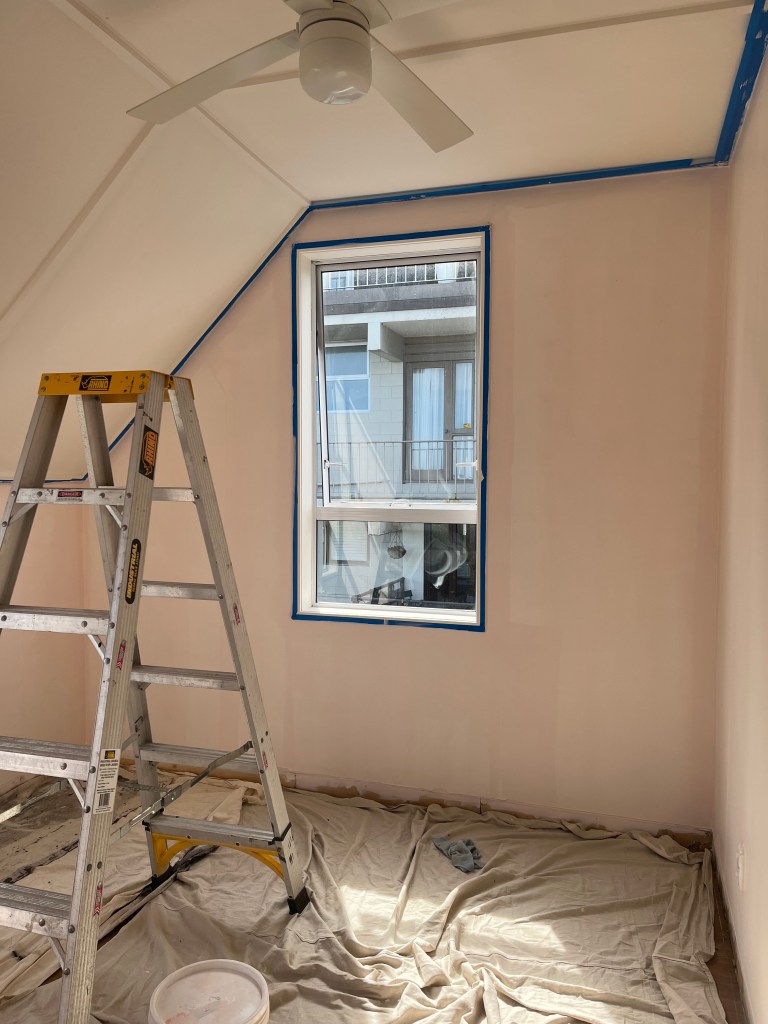
So there’s a lot that needs to be done, but thankfully it’s mostly cosmetic. Upon settlement and while moving in, we realised that the bright white colour scheme (which looked quite nice with the previous family’s colourful, quirky furniture!) was in fact just one coat of undercoat that had been slapped everywhere with alacrity, and seemingly without any prep work. It was probably done as a panacea to help the place sell, and probably also to cover up the smoke smell from the previous inhabitants. It was flaking badly in some places, and with no furniture in the place, it became obvious just how much it drained the life out of the house. The house is 50 years old and it cannot take a bright white colour scheme (very few places can, as a note). So painting is a priority, obviously.

The smell – of stale smoke, and of a halfhearted attempt to cover up the stale smoke – was another issue. A disgusting one, to be frank. We dealt with that by pulling all the cheap air freshener units out of the plugs (why would anyone buy these?! They don’t help, they just add a layer of horrible synthetic fragrance on top) and putting bowls of vinegar all around the house. We left those out for a few weeks, topping them up when they evaporated, and left the windows open 24/7 before we were living there full time, and that has all worked absolute wonders. We also now have our favourite Glasshouse diffusers in a few locations around the house and the smoke smell has all but gone. We still sometimes get a whiff when we brush against the curtain in the living room, but that will soon be gone…
…because we also decided very quickly to replace all the window treatments. This was a very easy decision. What is there is not good quality – the curtains in the living room are poorly hemmed and they are too small for the window; the curtains in Amelie’s room are too big and they bunch up oddly; and everywhere else is aged metal venetian blinds that fall down and drive me up the wall (they must seriously be from the ’80s – I remember having similar in our house when I was tiny, and they were new at the time of course!). Doing this isn’t cheap exactly, but it’s not too significant an outlay considering how much better it will look and function.

Finally, and more generally, the house needs the charm put back into it. The bones are there, which is the good thing! It’s very much a ’70s house; it has a lot of quirks and some great features, but over the decades, it has been unsympathetically and cheaply ‘modernised’ and now we have things like mismatched chunks of skirting board and rough-sawn shelves in silly places to deal with. This part is probably both the hardest and the most satisfying. We are aiming to stay true to the bones and the history of the place, without making it a pastiche of itself, and while still keeping it comfortable and contemporary enough for 2020s living.
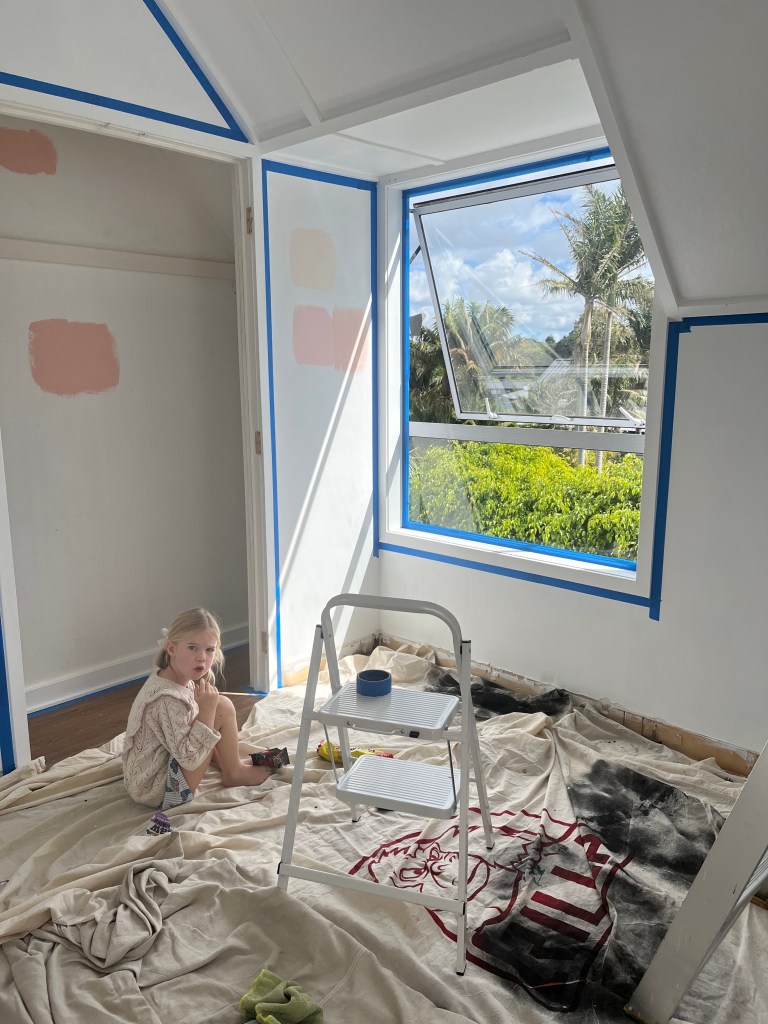
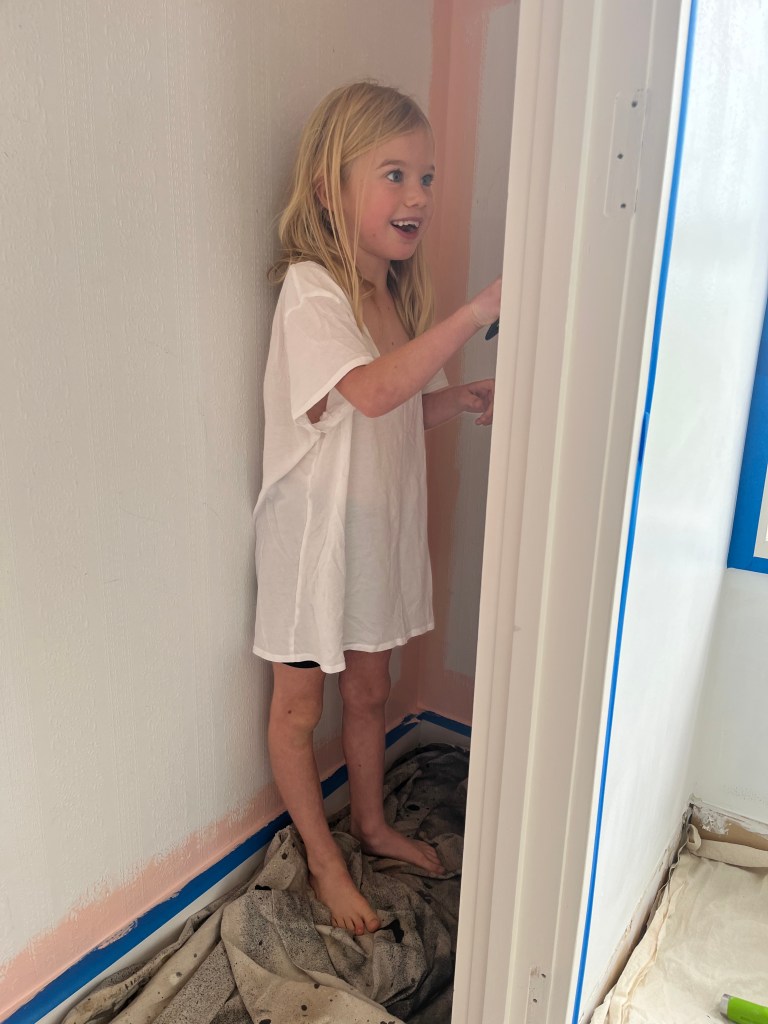
Although we want to, we can’t do everything at once, so we’re simply taking it one space at a time, starting with the upstairs rooms (Amelie’s bedroom; our bedroom; our large walk-in wardrobe; the stairwell landing/hall; and a very large family bathroom). We are definitely learning as we go, but considering we we would never have thought of ourselves as at all handy, I’m really proud of our work so far and the solutions we’re finding for the problems I listed out above! I’m so excited to keep showing you more as the weeks and months go by. But for now…
A sneak peek
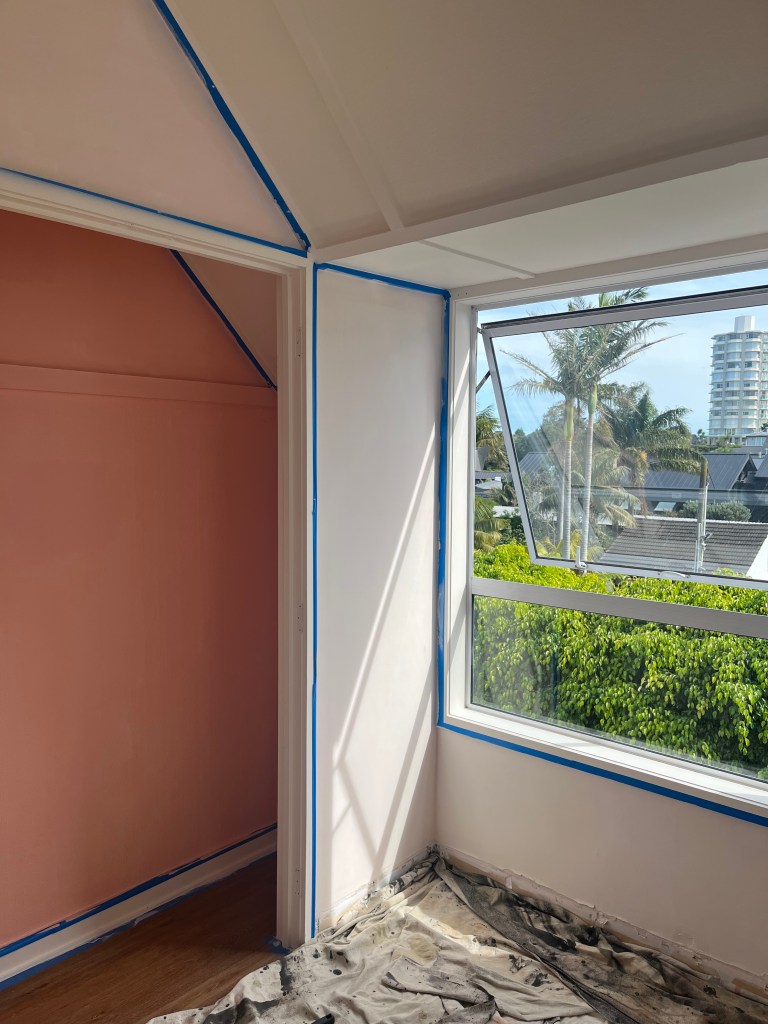
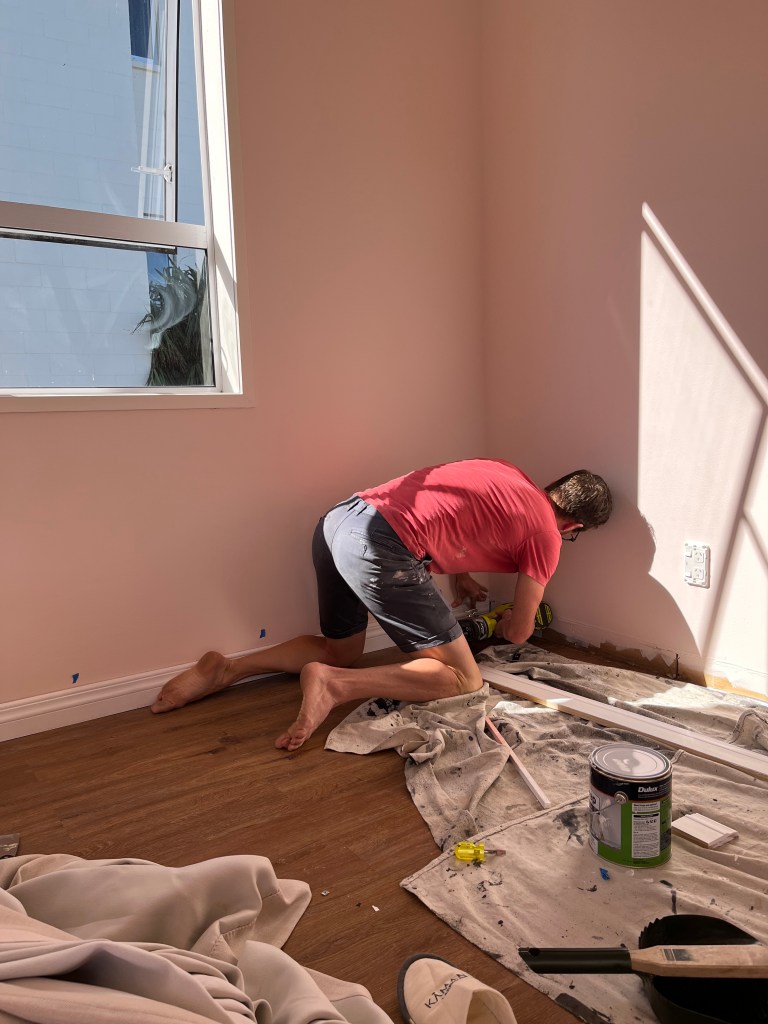
Here’s the hook I promised at the start – a little look at some of the progress we’ve made so far! As a point of reference, these photos are from Amelie’s bedroom, which is the first room we started working on. We are not finished in there yet – we still need to finish lighting, window treatments, switches, the wardrobe doors, toy/arts and crafts storage, and add some more art to the walls. However, after she camped out in our room for the first four or five nights after we moved in, this room was complete enough that we were able to move Amelie into a beautifully refreshed space that she loves.
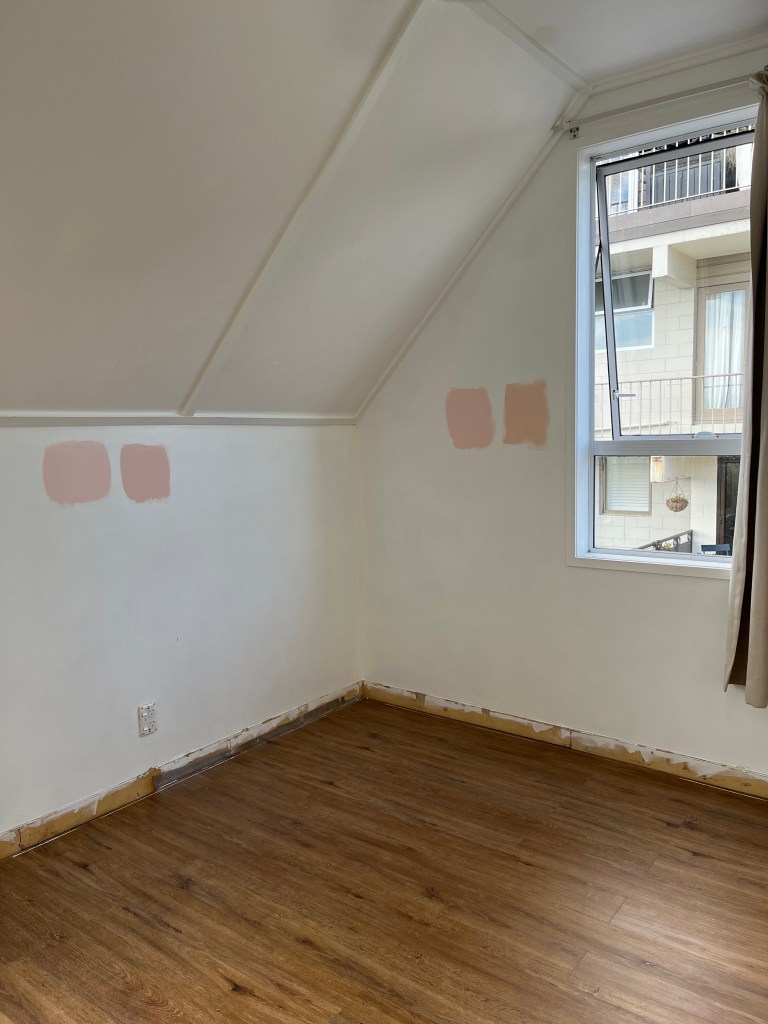
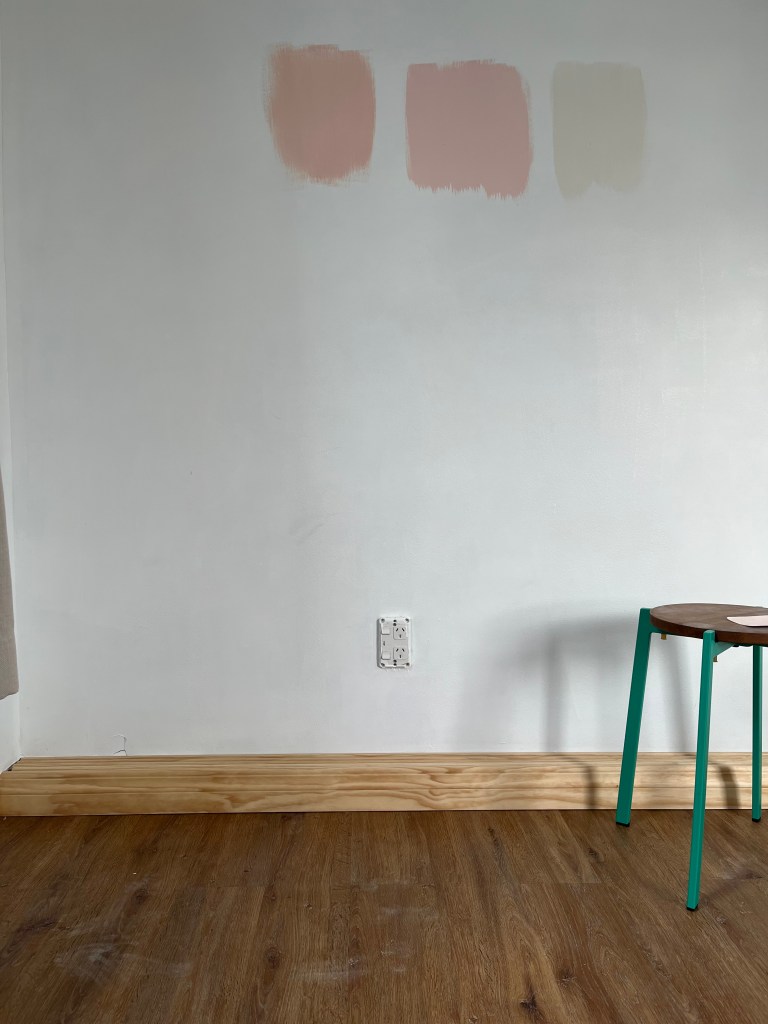
After removing hooks and old screws, etc, and patching all the little holes, we (visually) warmed up what was a drab, cold space (painted in undercoat, remember?!) with a very pale coral-pink paint on the walls, and a warm white on the ceiling. The walls are half-strength PPG Soft Coral, and the ceiling is Dulux Epsom – which I cannot rate highly enough. It’s a beautiful, beautiful warm white that actually has a really subtle pink tinge to it, rather than being too buttery or yellowy. All the trim is Epsom also, including the new skirting(!). It had to be done. What was there was just so harsh (and in poor condition), and now, where the walls meet the floor is a thing of beauty.
In the wardrobe, we took out all the old shelving and the rail, and painted it a brighter coral (PPG Coral Spice). We then put in a new top shelf, from which we hung a curtain rail – complete with finials! – to give Amelie a place to hang her clothes that is also charming. The wardrobe is an odd shape, so to make the most of the side spaces without building out something custom (which = expensive!), we simply put in flatpack shelving units from Bunnings that she can keep her foldable clothes in.

For furnishings, we added a rug that we already had up north, which we didn’t need in the country place, along with a new bed and bedside table, and her old bookshelf and dollhouse (the last two also came down from the country!)
Take a look at where we’re currently at…


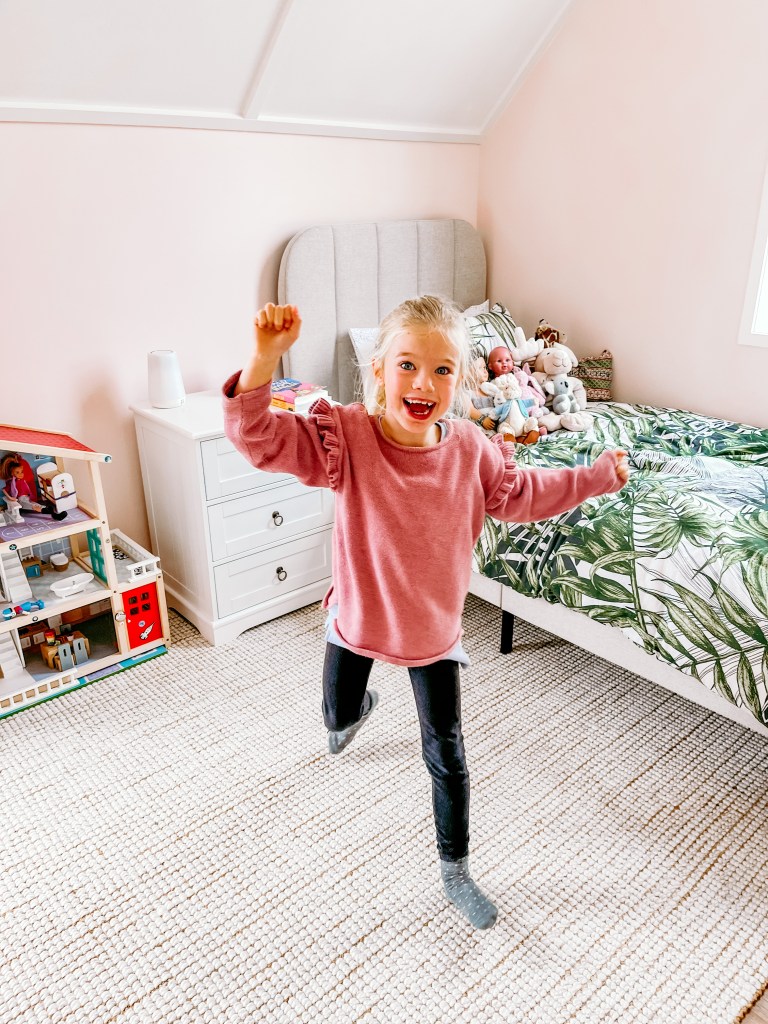
We’re just so pleased with this. It took about four whole days of working, I’d say, and the results are just so very much worth it in our opinion! As we go, we’re getting better and faster as well, so we’re finding other spaces that have similar requirements are easier and we’re able to get through them with more speed. Next up is the main bedroom – I’m looking forward to showing you what we’re doing in there!

Good work guys !
LikeLike